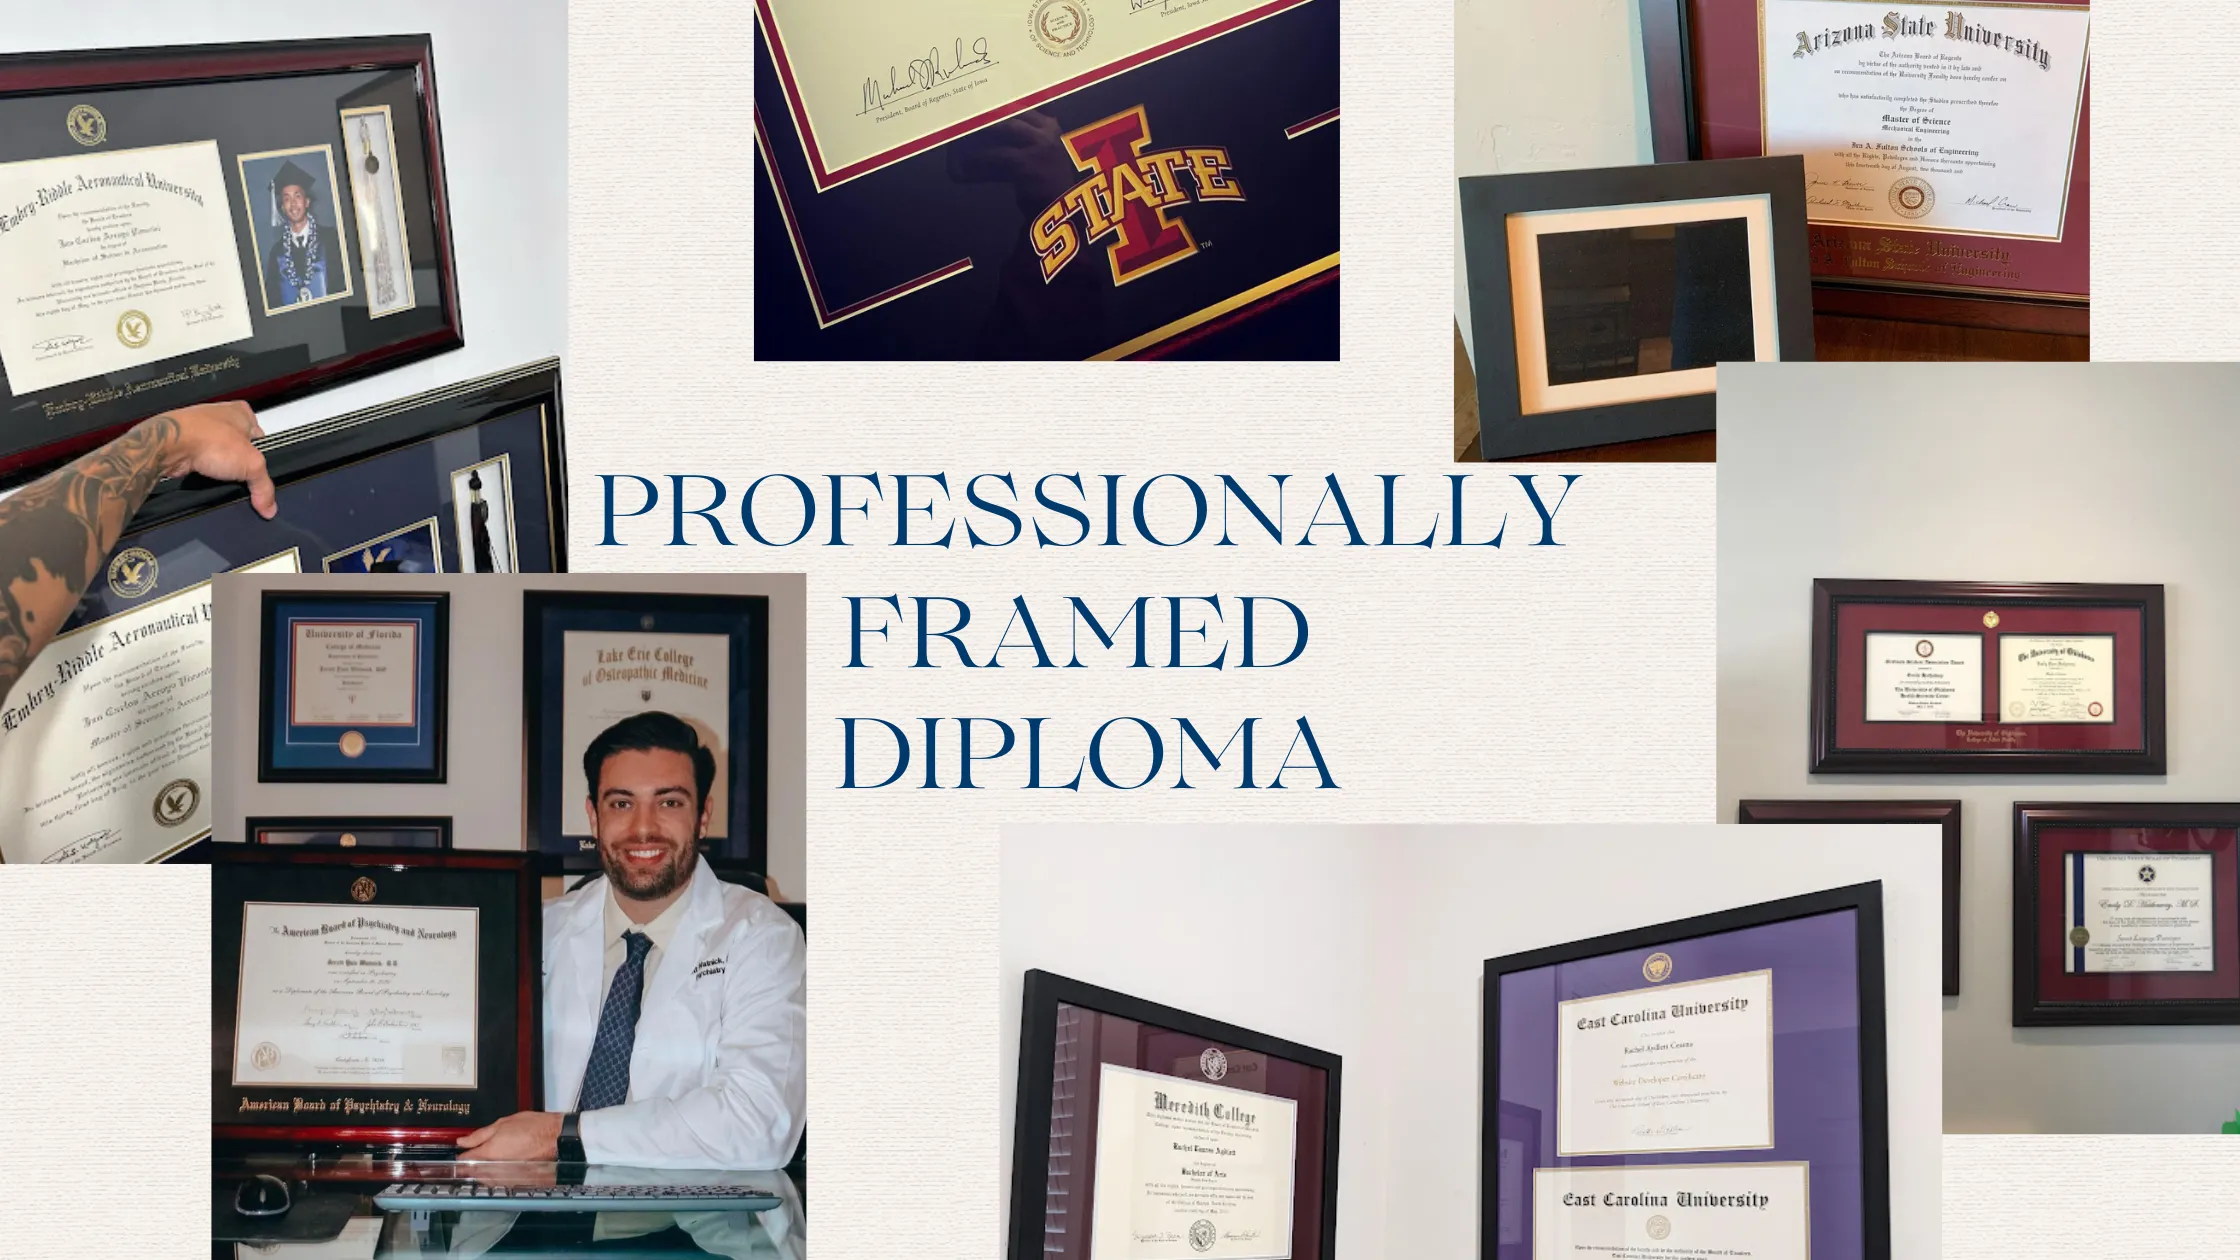
From diplomas to professional credentials, find expertly crafted frames designed to preserve what you earned.
Keep your certificate frame looking new. Learn safe, simple ways to clean and maintain it without causing damage to glass, wood, or matting.
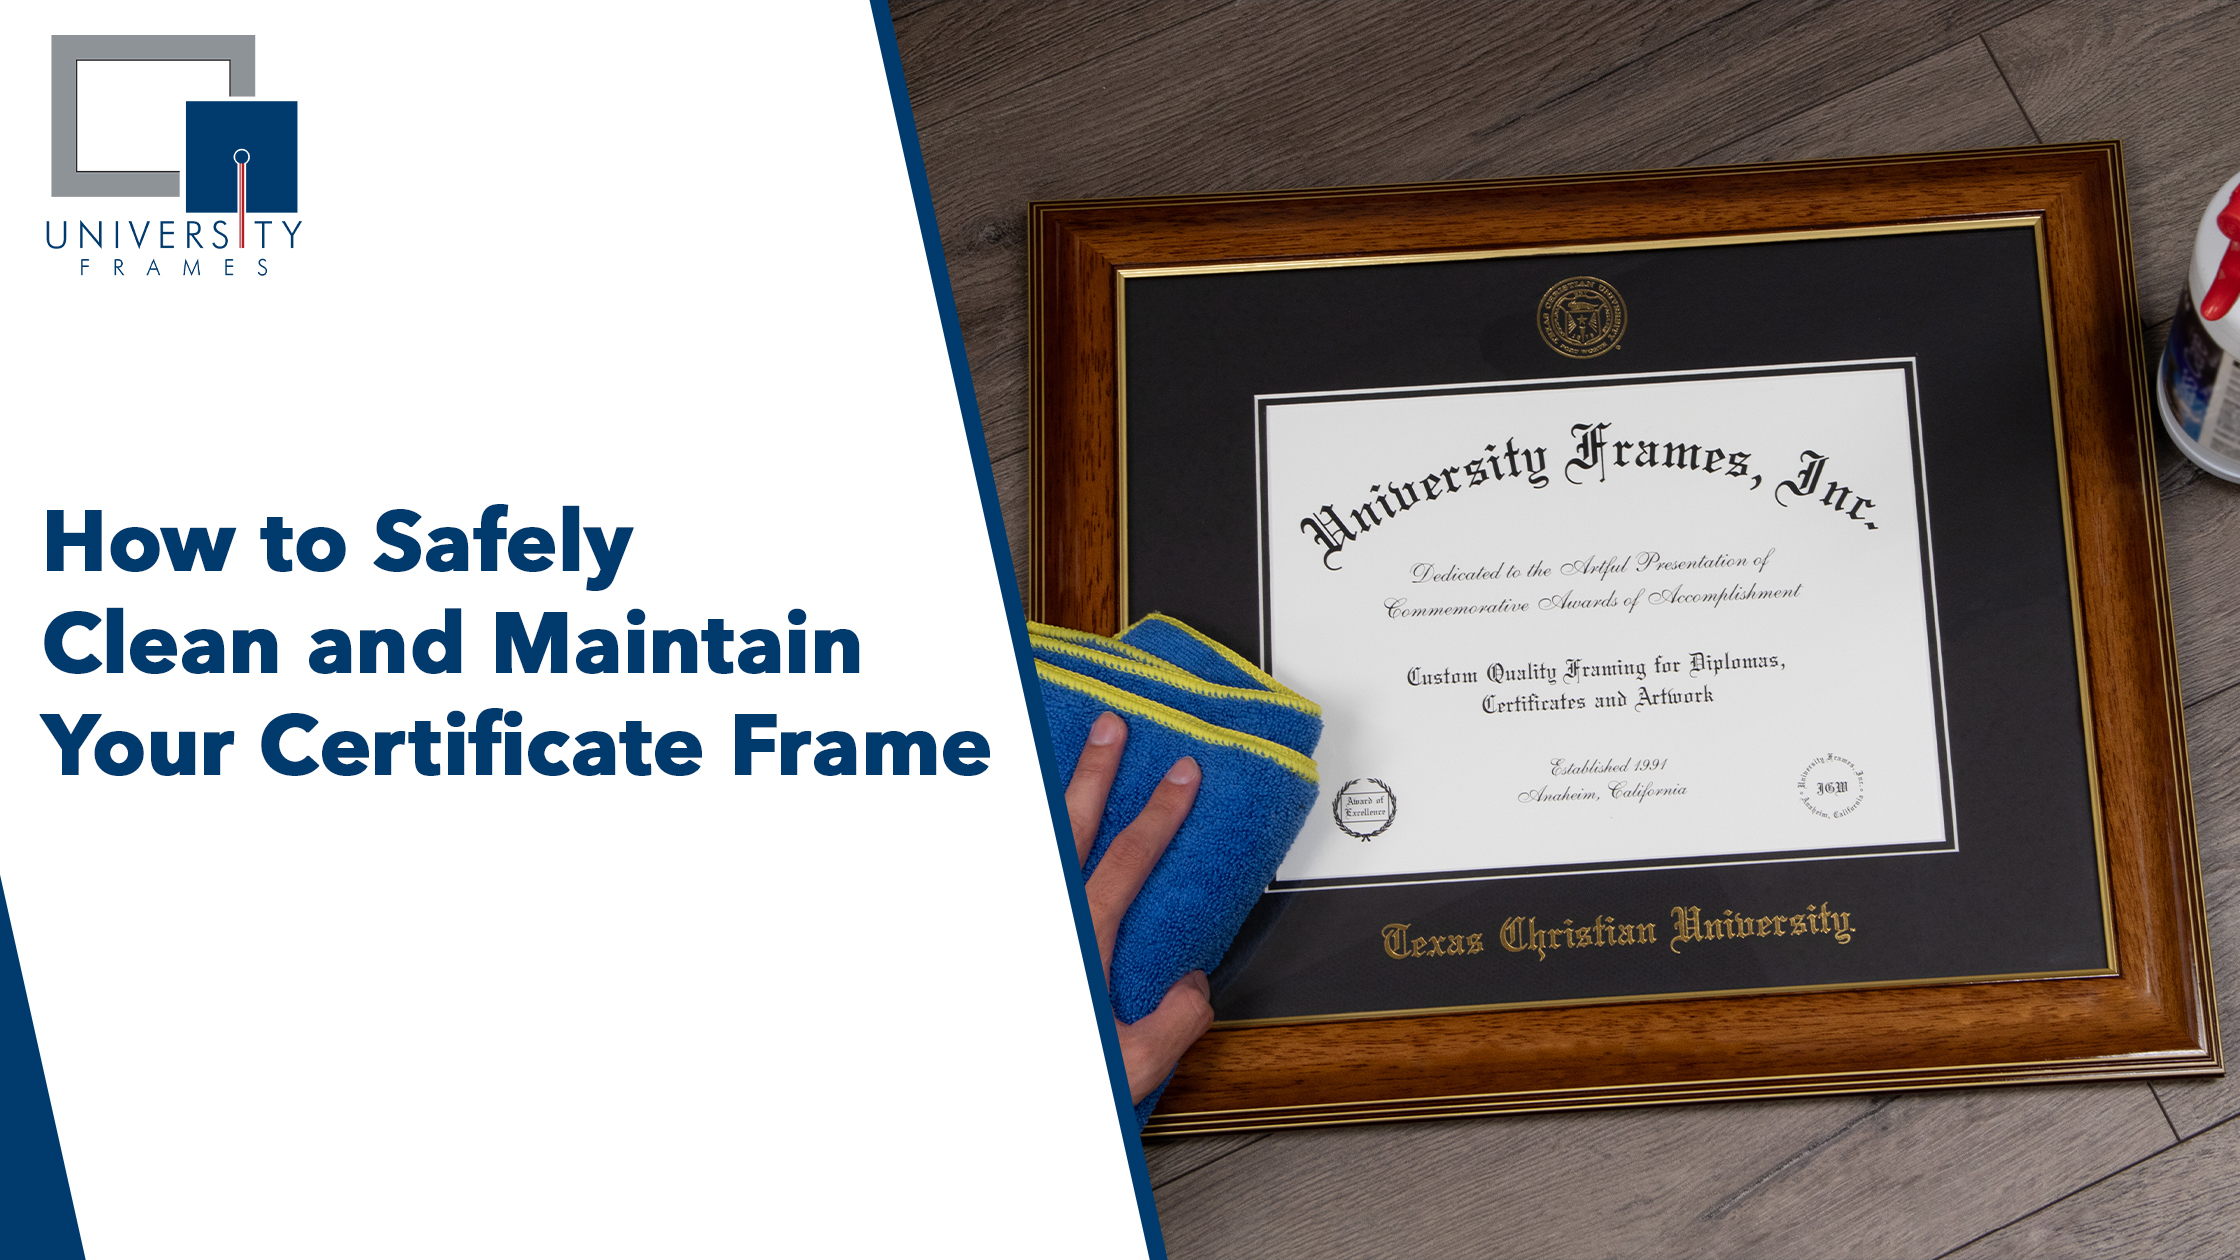
A framed certificate or diploma represents a proud achievement and keeping it clean ensures it stays polished and professional for years to come. Whether it is a university diploma frame in your office or a professional certification displayed at home, even small amounts of dust, fingerprints, and sunlight can gradually affect its appearance.
Cleaning a frame the wrong way can scratch the surface, damage the mat, or harm the document inside. This guide covers the safest tools to use, step-by-step cleaning instructions, and long-term maintenance tips to keep your framed certificate in excellent condition.
Different materials require slightly different care. Before you begin, identify the components of your frame.
| Frame Material | Front Cover Type |
|---|---|
| Durable but sensitive to excess moisture | Scratch-resistant but can streak if over-sprayed |
| Sleek and sturdy; avoid abrasive cleaners | Lightweight and shatter-resistant, but scratches more easily |
| Lightweight; treat gently and avoid harsh chemicals |
Frame Materials:
Cover Types:
Tip: When in doubt about the material, use the safest method: a clean, dry microfiber cloth only.
Use These:
✓ Clean, dry microfiber cloth
✓ Soft duster or soft brush
✓ Cotton gloves (optional but helpful)
✓ Mild cleaner — only if needed
✓ Compressed air — optional, used gently
Avoid These:
✖ Paper towels — especially on acrylic or plexi
✖ Rough or textured cloths
✖ Strong chemical sprays
✖ Bleach or ammonia-based cleaners
✖ Scrubbing sponges
Tip: Always test a small, inconspicuous area before fully cleaning a new frame.
Clean hands prevent transferring oils and fingerprints onto the glass or mat before you even start. Wash with soap and water and dry thoroughly, or use a hand sanitizer and let it fully evaporate before touching the frame. Even slightly damp or oily hands can leave marks that are harder to remove than ordinary dust. If you own cotton gloves, this is a good time to put them on — they eliminate the risk entirely and are especially useful when handling the mat area or the document itself.
Use a microfiber cloth or soft duster to remove surface dust before introducing any moisture. Apply light, even pressure and work from top to bottom so that dislodged dust falls away from areas you have already cleaned.
Pay close attention to the corners and inner edges of the frame, the seams where two pieces of moulding meet, and the channel where the frame profile sits flush against the glass — these are the spots where dust and debris accumulate most.
For carved or ridged moulding, switch to a soft-bristled brush such as a clean, dry paintbrush or make-up brush to sweep dust out of grooves that a flat cloth cannot reach. Compressed air can also help dislodge stubborn dust from tight crevices — use it in short bursts from a safe distance and always hold the can upright to avoid releasing propellant onto the frame.
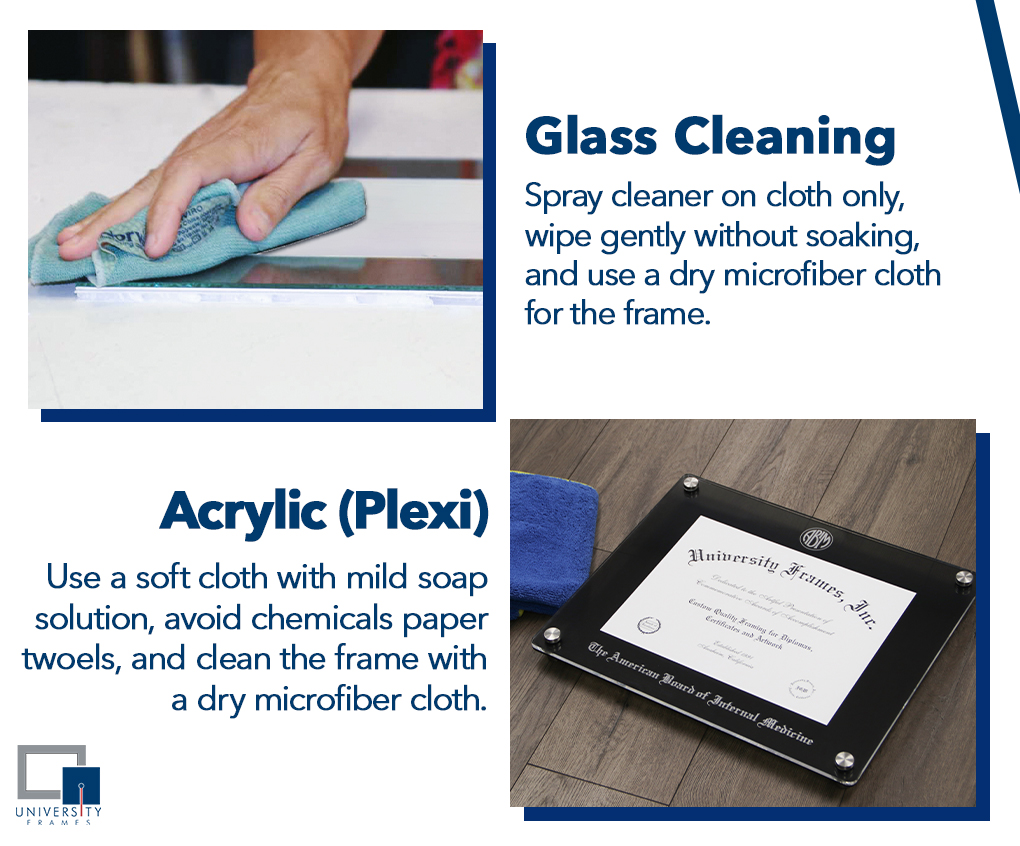
Never spray cleaner directly onto the frame. Always apply the cleaner to your cloth first, then wipe gently in smooth, overlapping motions without pressing hard. For glass, a standard glass cleaner works well — spray a small amount onto a clean microfiber cloth until it is lightly damp, not wet, and wipe across the surface in straight lines rather than circular motions, which can spread residue.
For acrylic or plexi, avoid glass cleaners entirely as they often contain ammonia which can cloud or craze the surface over time; instead, use a mild solution of water and a drop of dish soap applied to a soft cloth. In both cases, wipe gently and follow immediately with a second dry cloth to prevent streaking.
If the cover has an anti-reflective or UV coating, treat it with extra care — use minimal product and never scrub.
With the glass cleaned, turn your attention to the frame body itself. Use light, controlled pressure and work methodically around all four sides. Pay particular attention to the inner lip of the frame — the narrow edge that sits directly against the glass — as this area collects a fine layer of dust that is easy to miss but very visible when the frame is lit from an angle.
A folded corner of a microfiber cloth or a cotton swab can reach into this channel cleanly. At the corners, be careful not to push any moisture into the joints where the moulding meets, as this can weaken the adhesive or cause swelling in wood frames over time.
The moulding — the decorative ridges and profiles that give your frame its character — requires a little extra attention. Dust tends to settle into the grooves and carved details where a flat cloth cannot reach.
To clean these areas effectively, use a soft-bristled brush such as a clean, dry paintbrush or a make-up brush to gently sweep dust out of the recessed channels. Work from top to bottom so dislodged dust falls away from already-cleaned areas. For any remaining residue on wood moulding, lightly dampen (do not soak) a cotton swab or the corner of a microfiber cloth and trace along the groove with minimal pressure.
On metal or composite moulding, the same technique applies — avoid any moisture near the seams where the moulding joins at the corners, as water can cause warping or adhesive breakdown over time. Once the grooves are clear, finish with a final dry pass using your microfiber cloth across the entire face of the frame.
Once cleaning is complete, take a fresh, completely dry microfiber cloth and make one final pass over the entire front surface — glass and frame — using light, smooth strokes.
This step lifts any remaining moisture, evens out the finish, and removes any lint or fibers left behind from the cleaning cloth. Hold the frame up to a light source or tilt it at an angle to check for streaks or missed spots before re-hanging. If you notice any remaining haze on the glass or acrylic, a single additional dry buff is usually enough to resolve it.
Avoid the temptation to add more cleaner at this stage — less product, not more, is the key to a streak-free result.
The frame's moulding — the decorative profile that borders your diploma/certificate — collects dust, oils, and residue differently depending on its material and finish. Cleaning it correctly preserves the surface, protects the finish, and prevents buildup from working its way into the frame seams or behind the glass. This section covers each material type in detail so you can clean with confidence.
Wood is the most common diploma frame material and the most sensitive to moisture. The key rule with wood is always dry-clean first and introduce any dampness sparingly and only when necessary.
Warning: Never use furniture polish, wax, or wood oils on diploma frames. These products can transfer to the mat or glass and are difficult to remove without causing further damage.
Metal frames are durable and resistant to moisture, but their finish — whether brushed, polished, or matte — can be scratched by abrasive materials and dulled by harsh chemicals.
Warning: Never use abrasive pads, steel wool, or metal polishes on diploma frames. These strip protective coatings and leave permanent scratches on the finish.
Composite frames are made from engineered wood or resin materials, often finished with a foil or paint coating to mimic wood or metal. They are lightweight but more susceptible to surface damage from chemicals and excess moisture than genuine wood or metal frames.
Warning: Avoid alcohol-based cleaners, acetone, or any solvent on composite frames. These dissolve the surface coating and cause irreversible discoloration or peeling.
The type of front cover on your frame determines how you should clean it.
Tip: Patience works better than pressure. Multiple gentle passes outperform a single hard scrub every time.
✖ Spraying cleaner directly onto glass or acrylic
✖ Using paper towels on acrylic surfaces
✖ Pressing too hard or scrubbing aggressively
✖ Letting moisture seep into the mat or backing
✖ Using bleach, ammonia, or solvent-based chemicals
✖ Hanging in direct sunlight after cleaning — or at all, long-term
Avoiding these mistakes protects both the frame and the document inside.
Prevention is just as important as cleaning. Follow these habits to keep your frame looking its best year-round.
Tip: If possible, choose UV-protective glass when selecting a frame — it significantly reduces long-term fading of the document inside.
Thoughtful placement protects your frame and certificate while keeping your achievement visible and presentable.
Can I use glass cleaner on my framed certificate?
Yes, but always spray it onto the cloth first, never directly onto the glass. This prevents liquid from running behind the glass and soaking the mat.
How do I know if my frame has glass or plexiglass?
Plexi is lighter and slightly warmer to the touch than glass. When unsure, default to the gentlest cleaning method: a soft, dry microfiber cloth.
Why does my frame look streaky after cleaning?
Streaks are usually caused by using too much cleaner or applying it directly to the surface. Use less product on the cloth and buff with a second dry cloth after wiping.
How do I prevent dust buildup?
A quick, light dusting every week or two is the most effective way to prevent heavy accumulation and reduce the need for deep cleaning.
Can sunlight damage my certificate inside the frame?
Yes. Direct and prolonged sunlight can fade both the document and the mat over time. UV-protective glass helps significantly, but avoiding direct sun exposure is the best first step.
How often should I fully clean my certificate frame?
Light dusting weekly and a full wipe-down once a month is a practical and sufficient routine for most frames.
What should I do if moisture gets inside the frame?
Lay the frame flat immediately and allow it to air dry completely in a dry environment. If the mat becomes damp or warped, professional reframing may be needed.
A clean, well-maintained frame keeps your achievement looking professional and presentation-ready for decades. Gentle cleaning techniques protect both the exterior and the document inside, and a simple routine takes only minutes each month.
With the right tools, smart placement, and consistent care, your framed diploma or certificate will remain in excellent condition long into the future.
If you are looking for frames designed for long-term document protection, look for options built with archival-quality materials, UV-protective glass, and acid-free mats — features that do the work of preservation so you do not have to.


Your diploma represents years of hard work and dedication. Frame it with the quality it deserves.